
Creating graphical user interfaces (GUIs) for Python applications can be challenging, especially if you're building them manually through code. Fortunately, Qt Designer offers a powerful visual approach to GUI development that can dramatically simplify this process. This comprehensive guide explores how Qt Designer works with Python and why it's becoming the go-to choice for developers building desktop applications.
What is Qt Designer?
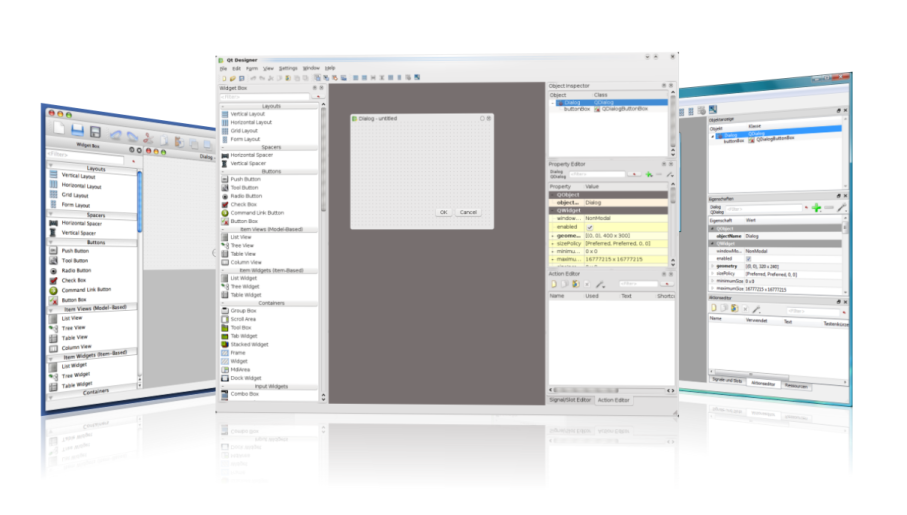
Qt Designer is a visual design tool that allows developers to create graphical user interfaces by dragging and dropping widgets onto a canvas. Part of the larger Qt framework, it generates XML-based .ui files that can be converted to Python code or loaded directly by PyQt or PySide applications.
Rather than writing hundreds of lines of code to position elements and set properties, Qt Designer provides an intuitive WYSIWYG (What You See Is What You Get) interface, making GUI development accessible to programmers of all skill levels.
Why Use Qt Designer for Python GUI Development?
Rapid Development
The tool accelerates GUI development by eliminating the need to code every element manually. What might take hours to code can be accomplished in minutes through simple drag-and-drop actions. This efficiency makes iterative development and prototyping significantly faster.
Code-UI Separation
By separating the interface design from application logic, Qt Designer enables cleaner architecture. This separation allows designers to work on interfaces while developers focus on functionality, creating a more organized development workflow.
Rich Widget Library
The tool comes with an extensive collection of pre-built widgets including:
- Basic elements (buttons, labels, text fields)
- Complex controls (tables, trees, list views)
- Containers (tab widgets, group boxes, scroll areas)
- Advanced components (progress bars, sliders, date/time editors)
Cross-Platform Consistency
Qt applications maintain a consistent look and feel across Windows, macOS, and Linux. Design once in Qt Designer, and your application will display properly across all major operating systems with minimal adjustments.
Getting Started with Qt Designer for Python
Installation Options
There are several ways to install Qt Designer for Python development:
- Qt Creator Installation: The full Qt Creator IDE includes Qt Designer along with other development tools
- PyQt Installation: When installing PyQt, Qt Designer is often included:
pip install PyQt5 pip install PyQt5-tools - PySide Installation: For PySide users:
pip install PySide2 - Standalone Qt Designer: Available for direct download from the Qt website
Connecting Qt Designer with Python
There are two primary methods for using Qt Designer files with Python:
Method 1: Converting .ui files to Python with pyuic
The PyQt toolkit includes a command-line utility called pyuic5 that converts .ui files to Python code:
pyuic5 -x interface.ui -o interface.py
This generates a Python class that you can import and use in your application:
from PyQt5 import QtWidgets
from interface import Ui_MainWindow

class MyApp(QtWidgets.QMainWindow, Ui_MainWindow):
    def __init__(self):
        super().__init__()
        self.setupUi(self)
        # Connect signals and slots here
        self.pushButton.clicked.connect(self.on_button_click)

    def on_button_click(self):
        self.label.setText("Button clicked!")

if __name__ == "__main__":
    app = QtWidgets.QApplication([])
    window = MyApp()
    window.show()
    app.exec_()
Method 2: Loading .ui files dynamically
Alternatively, you can load .ui files directly at runtime:
from PyQt5 import QtWidgets, uic

class MyApp(QtWidgets.QMainWindow):
    def __init__(self):
        super().__init__()
        uic.loadUi('interface.ui', self)
        # Connect signals and slots
        self.pushButton.clicked.connect(self.on_button_click)

    def on_button_click(self):
        self.label.setText("Button clicked!")

if __name__ == "__main__":
    app = QtWidgets.QApplication([])
    window = MyApp()
    window.show()
    app.exec_()
This approach is simpler but can be slightly less efficient for large applications.
Essential Qt Designer Features for Python Developers
Layout Management
Qt Designer excels at creating responsive layouts that adapt to window resizing:
- Layout Types: Choose from horizontal, vertical, grid, and form layouts
- Layout in Layout: Nest layouts for complex interfaces
- Spacers: Add dynamic spacing between widgets
- Margins and Spacing: Fine-tune the spacing around and between widgets
Signal-Slot Connections
Qt's signal-slot mechanism handles event processing. While Qt Designer allows visual connection configuration, in Python applications, you typically connect them in code:
self.pushButton.clicked.connect(self.on_button_click)
Widget Promotion
This powerful feature allows you to use custom widgets within the tool:
- Create a custom widget class in Python
- In Qt Designer, use "Promote to..." to replace a standard widget with your custom one
- Specify the header file (Python module) and class name
Resource System
The tool resource system manages images and other assets:
- Create a
.qrcfile listing your resources - Compile it to Python using
pyrcc5 - Import the resources in your application
This approach embeds resources directly in your application code.
Building a Complete Python Application with Qt Designer
Let's outline the workflow for creating a complete application:
Step 1: Design the Interface
- Open Qt Designer and select a template (e.g., "Main Window")
- Drag and drop widgets to build your interface
- Set layouts to make the interface responsive
- Name important widgets (using the Object Inspector)
- Save the design as a
.uifile
Step 2: Generate Python Code
Convert the UI file to Python:
pyuic5 -x mainwindow.ui -o ui_mainwindow.py
Step 3: Create the Application Logic
import sys
from PyQt5 import QtWidgets
from ui_mainwindow import Ui_MainWindow

class MainApplication(QtWidgets.QMainWindow, Ui_MainWindow):
    def __init__(self):
        super().__init__()
        self.setupUi(self)

        # Connect signals to slots
        self.calculateButton.clicked.connect(self.perform_calculation)
        self.actionExit.triggered.connect(self.close)

    def perform_calculation(self):
        try:
            value1 = float(self.input1.text())
            value2 = float(self.input2.text())
            result = value1 + value2
            self.resultLabel.setText(f"Result: {result}")
        except ValueError:
            self.resultLabel.setText("Please enter valid numbers")

if __name__ == "__main__":
    app = QtWidgets.QApplication(sys.argv)
    window = MainApplication()
    window.show()
    sys.exit(app.exec_())
Step 4: Run and Test the Application
Execute your Python script to launch the application and verify that all functionality works as expected.
Advanced Techniques
Form Inheritance and Extension
You can extend the generated UI classes for larger applications:
from PyQt5 import QtWidgets
from ui_mainwindow import Ui_MainWindow

class CustomWidget(QtWidgets.QWidget):
    def __init__(self, parent=None):
        super().__init__(parent)
        # Custom widget implementation

class MainWindow(QtWidgets.QMainWindow, Ui_MainWindow):
    def __init__(self):
        super().__init__()
        self.setupUi(self)

        # Replace a placeholder widget with custom widget
        self.placeHolder.layout().addWidget(CustomWidget())
Dynamically Loading Multiple UI Files
For complex applications with multiple windows or dialogs:
class MainWindow(QtWidgets.QMainWindow):
    def __init__(self):
        super().__init__()
        uic.loadUi('mainwindow.ui', self)

        self.actionSettings.triggered.connect(self.open_settings)

    def open_settings(self):
        dialog = QtWidgets.QDialog()
        uic.loadUi('settings.ui', dialog)
        dialog.exec_()
Style Sheets and Theming
Qt Designer allows applying CSS-like style sheets to customize the appearance:
- Select a widget or the entire form
- Edit the styleSheet property
- Enter CSS-like syntax:
QPushButton {
    background-color: #4CAF50;
    color: white;
    border-radius: 4px;
    padding: 6px;
}

QPushButton:hover {
    background-color: #45a049;
}
Troubleshooting Common Issues
Widget Names Not Accessible
Ensure widgets have unique object names set in Qt Designer. Without proper names, you can't access them in your Python code.
UI File Not Found
Use absolute paths or ensure the UI file is in the correct relative location to your Python script.
Layout Problems
Test your interface by resizing the preview in Qt Designer. If widgets don't resize properly, check your layout hierarchy and constraints.
Custom Widget Issues
When using promoted widgets, verify that the Python module is in your Python path and the class name exactly matches.
PyQt vs. PySide with Qt Designer
Both PyQt and PySide provide Python bindings for Qt and work with Qt Designer:
- PyQt: More established with longer history, GPL or commercial license
- PySide: Official Qt for Python project by Qt Company, LGPL license
The code differences are minimal, mainly in imports:
# PyQt5
from PyQt5 import QtWidgets, uic

# PySide2
from PySide2 import QtWidgets, QtUiTools
Summary
Qt Designer transforms Python GUI development from a tedious coding exercise into a visual design process. By separating interface design from application logic, it enables cleaner architecture and faster development cycles. Whether you're building simple tools or complex applications, Qt Designer provides the visual framework to create professional, cross-platform interfaces with minimal effort.